Lock&Puzzle Tutorial on Netlify
Step-by-Step Guide & Tutorial

Publish Your Project on Netlify in Minutes

Learn how to create, upload, and make your Lock&Puzzle project public

Never uploaded a web page before? Don't worry. This tutorial will walk you through the process of uploading your puzzles to the internet using Netlify Drop, linking them to your account, and configuring them so your players can access them freely.
The Three Phases of the Process

Follow this structure to correctly organize and deploy the digital puzzles for your escape room.

1. Create & Upload

Organize your project resource folders and upload them by dragging them directly into Netlify Drop.

2. Claim & Link

Create or log in to your Netlify account to gain control and management of the site.

3. Go Public

Change visibility to public, inspect the URL structure, and verify password-free access.

Watch Video Tutorial

Watch it here or on YouTube to leave a like.

...or keep reading for the written tutorial.

Phase 1

Create and Upload the Project

Click on the images to view them in a larger size

1.1

Prepare project folders

Prepare project folders

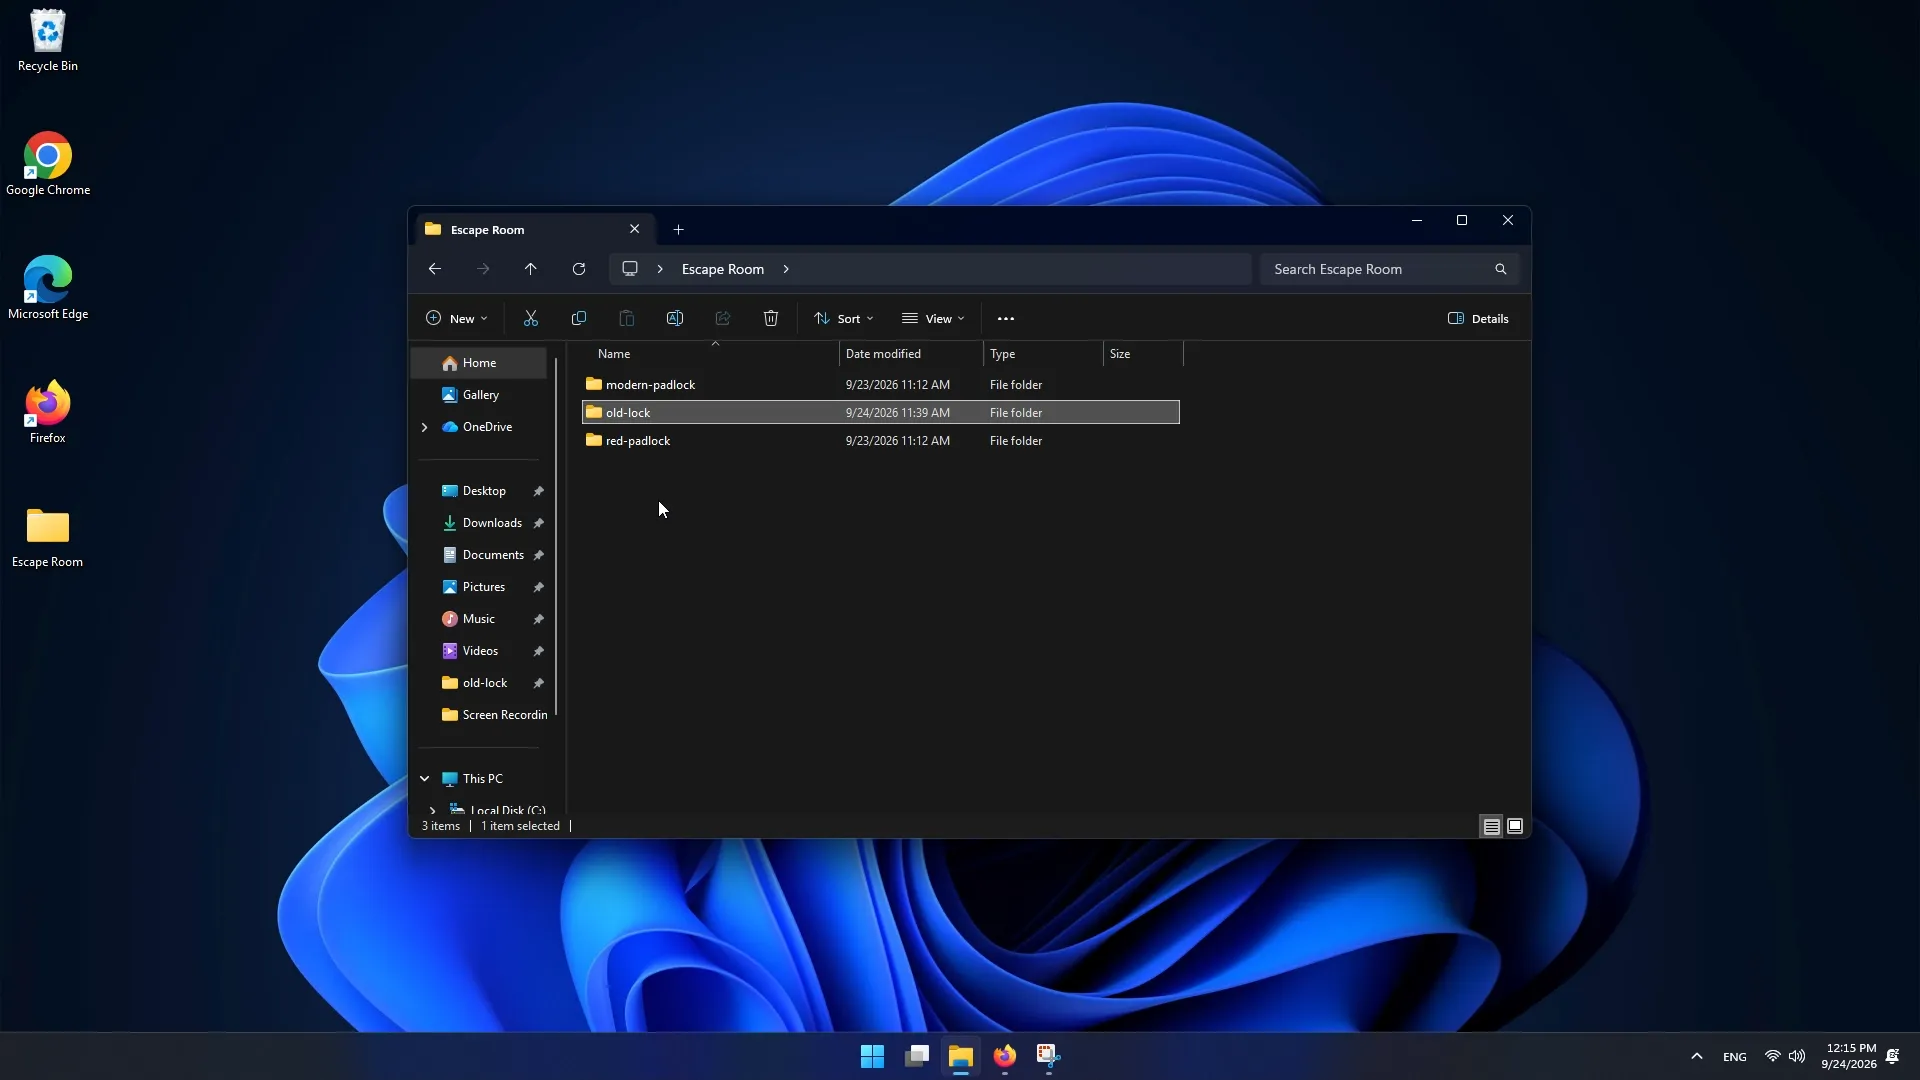
Before uploading the project, we must verify that the folder structure is properly organized in the file explorer.

  • Names must be entirely in lowercase.
  • They must not contain whitespace.
  • Avoid characters other than letters, numbers, or hyphens (example of correct names: modern-padlock, old-lock, red-padlock).
  • Resources for each project must remain inside their own folder.
1.2

Access Netlify Drop

Access Netlify Drop

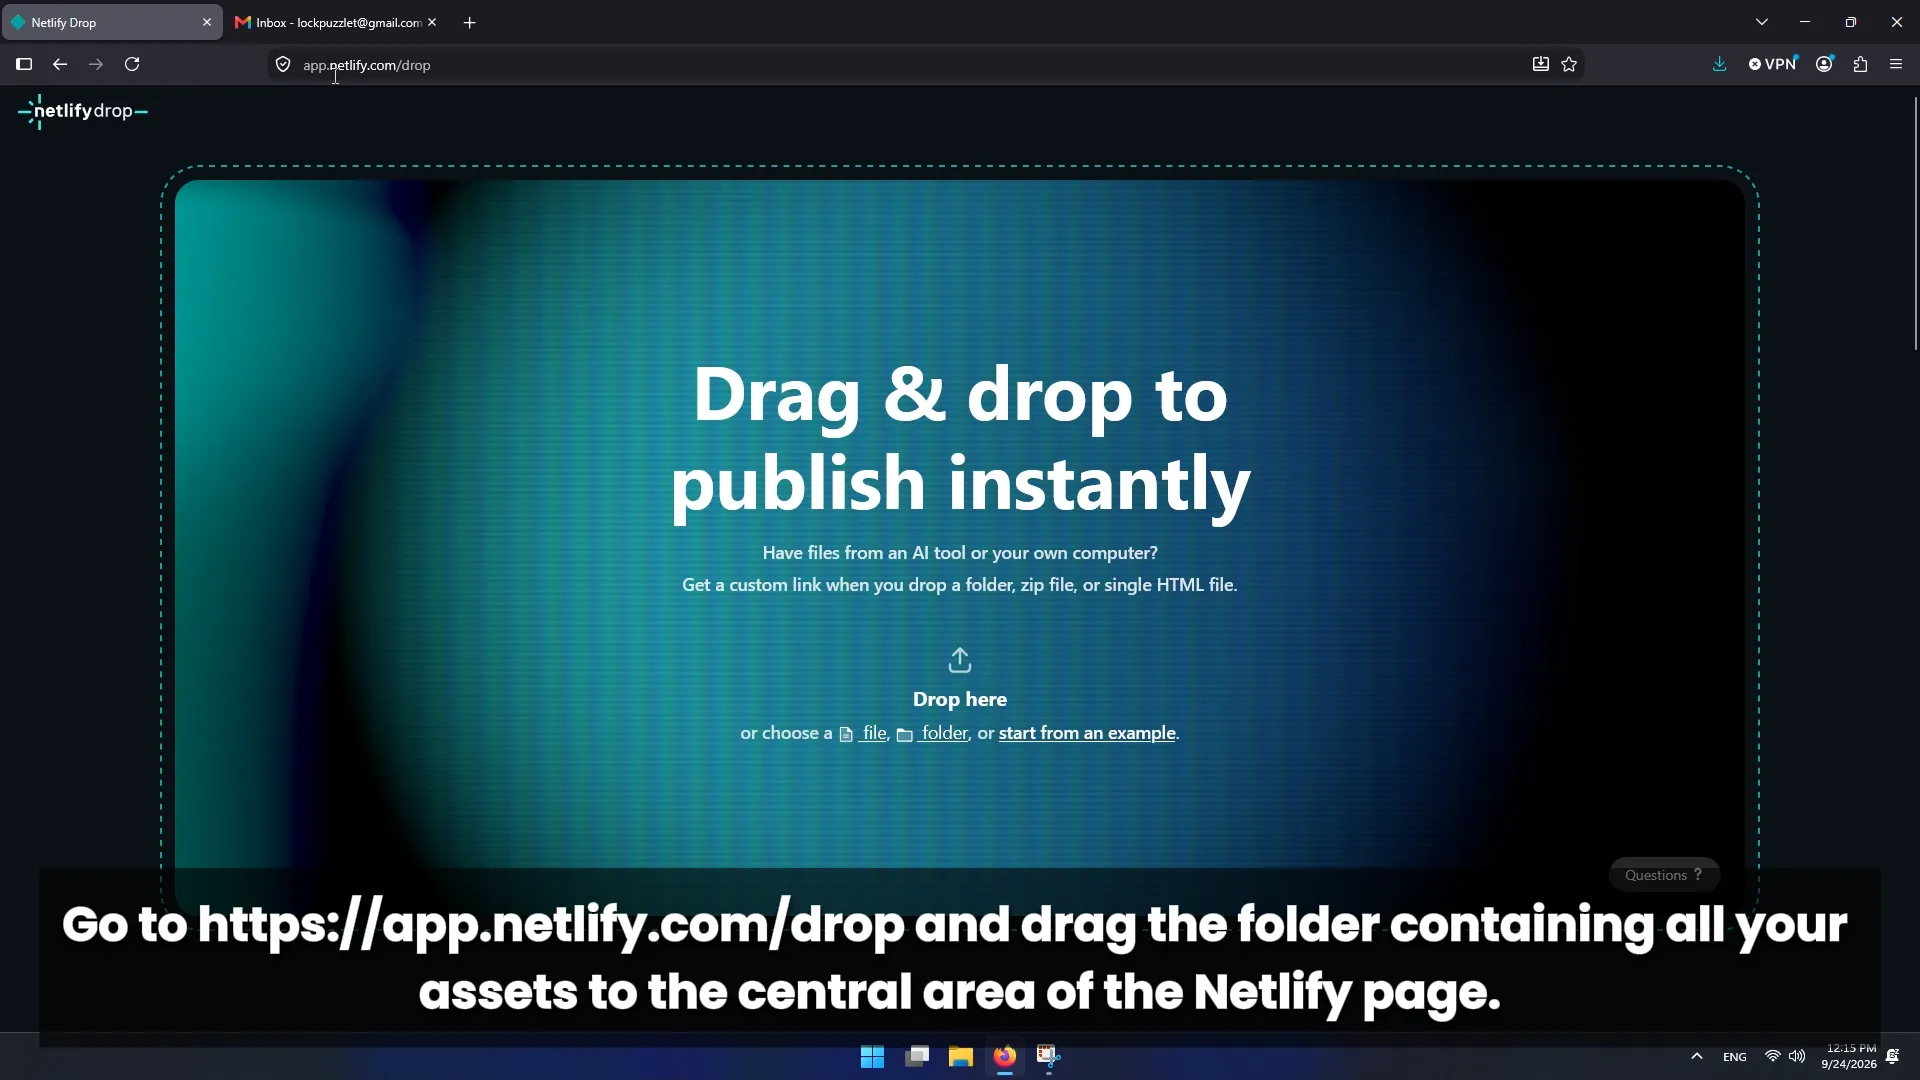
Open your web browser and go to the official URL for quick deployments:

https://app.netlify.com/drop

The Netlify Drop page will open, allowing you to publish projects simply by dragging and dropping files.

1.3

Upload the project

Upload the project
  1. Locate the folder containing all your digital props on your computer.
  2. Select that folder by clicking on it.
  3. Drag it to the central drop zone on the Netlify Drop page.
  4. Drop the folder and wait for the upload process to finish.
1.4

Verify publication

Verify publication

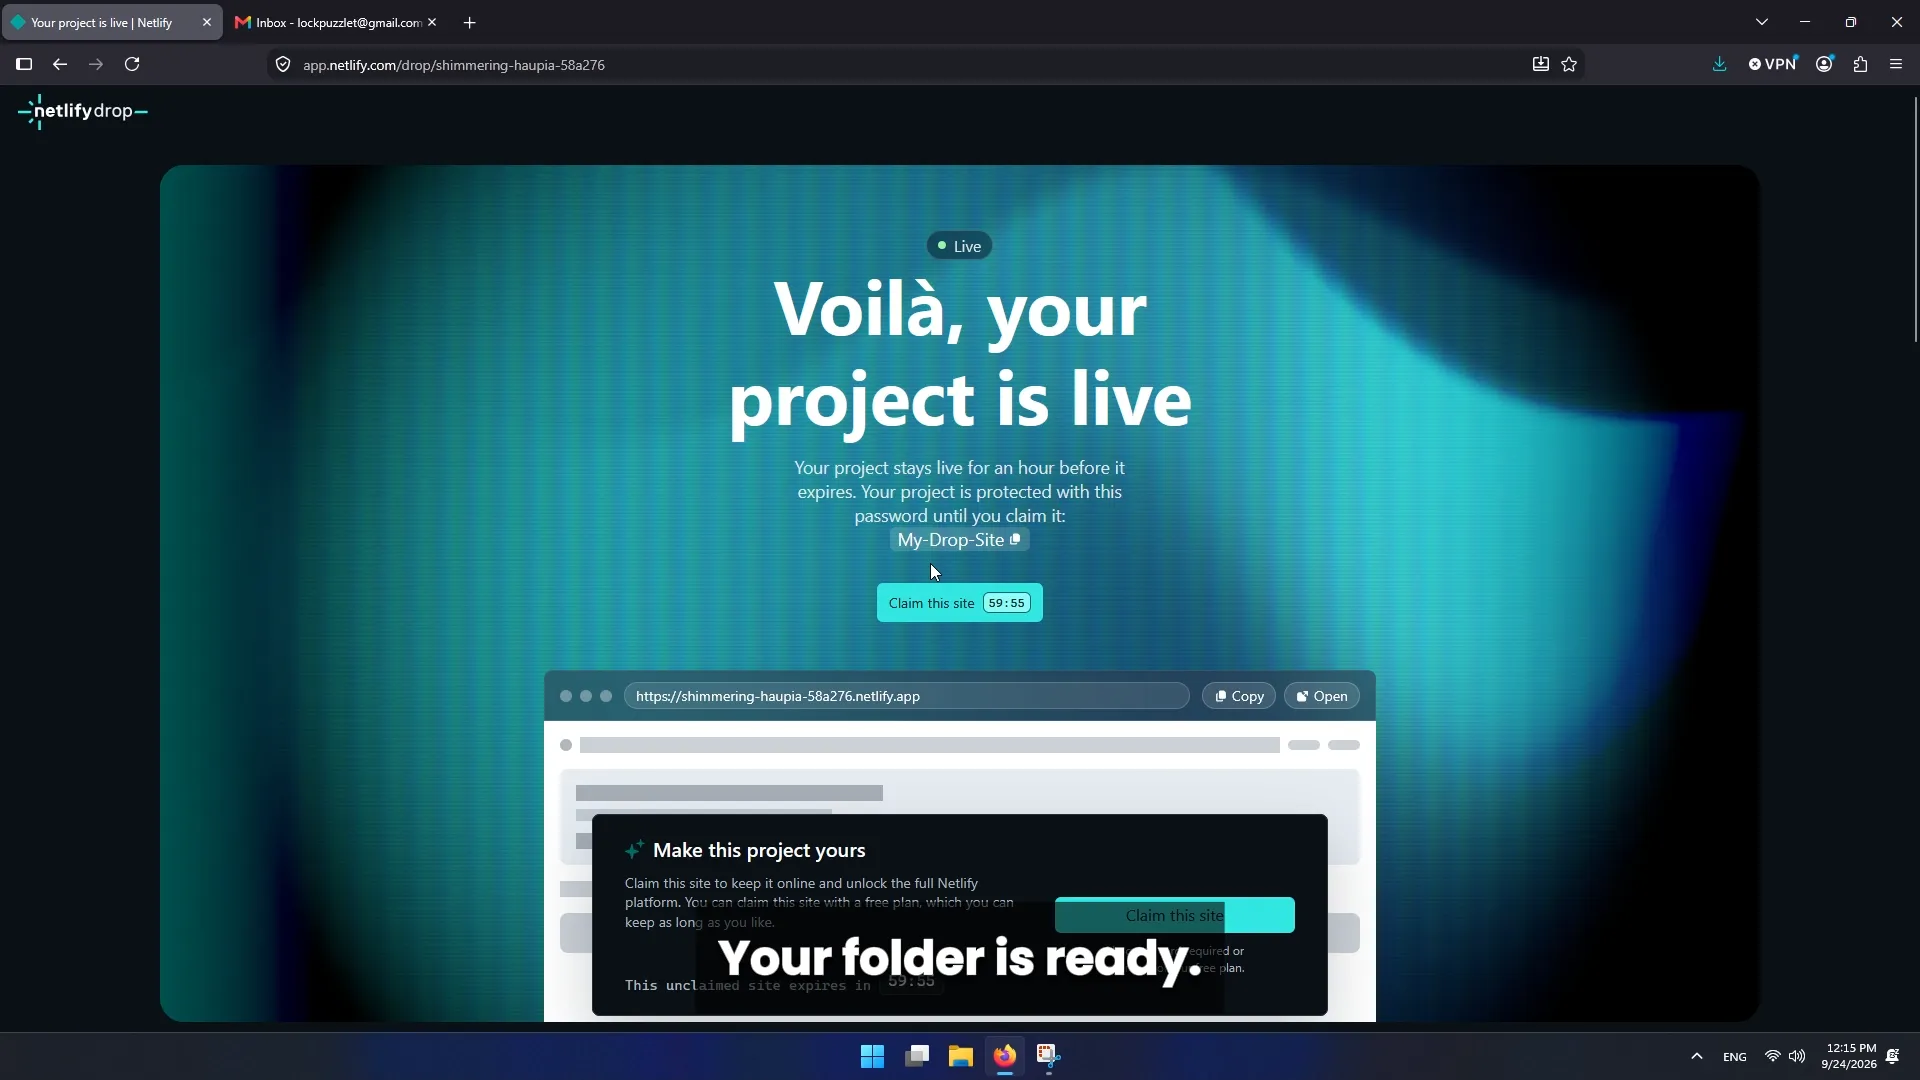
Once the upload completes, Netlify will show a message indicating that the project is active and will generate an automatic domain formatted as:

project-name.netlify.app

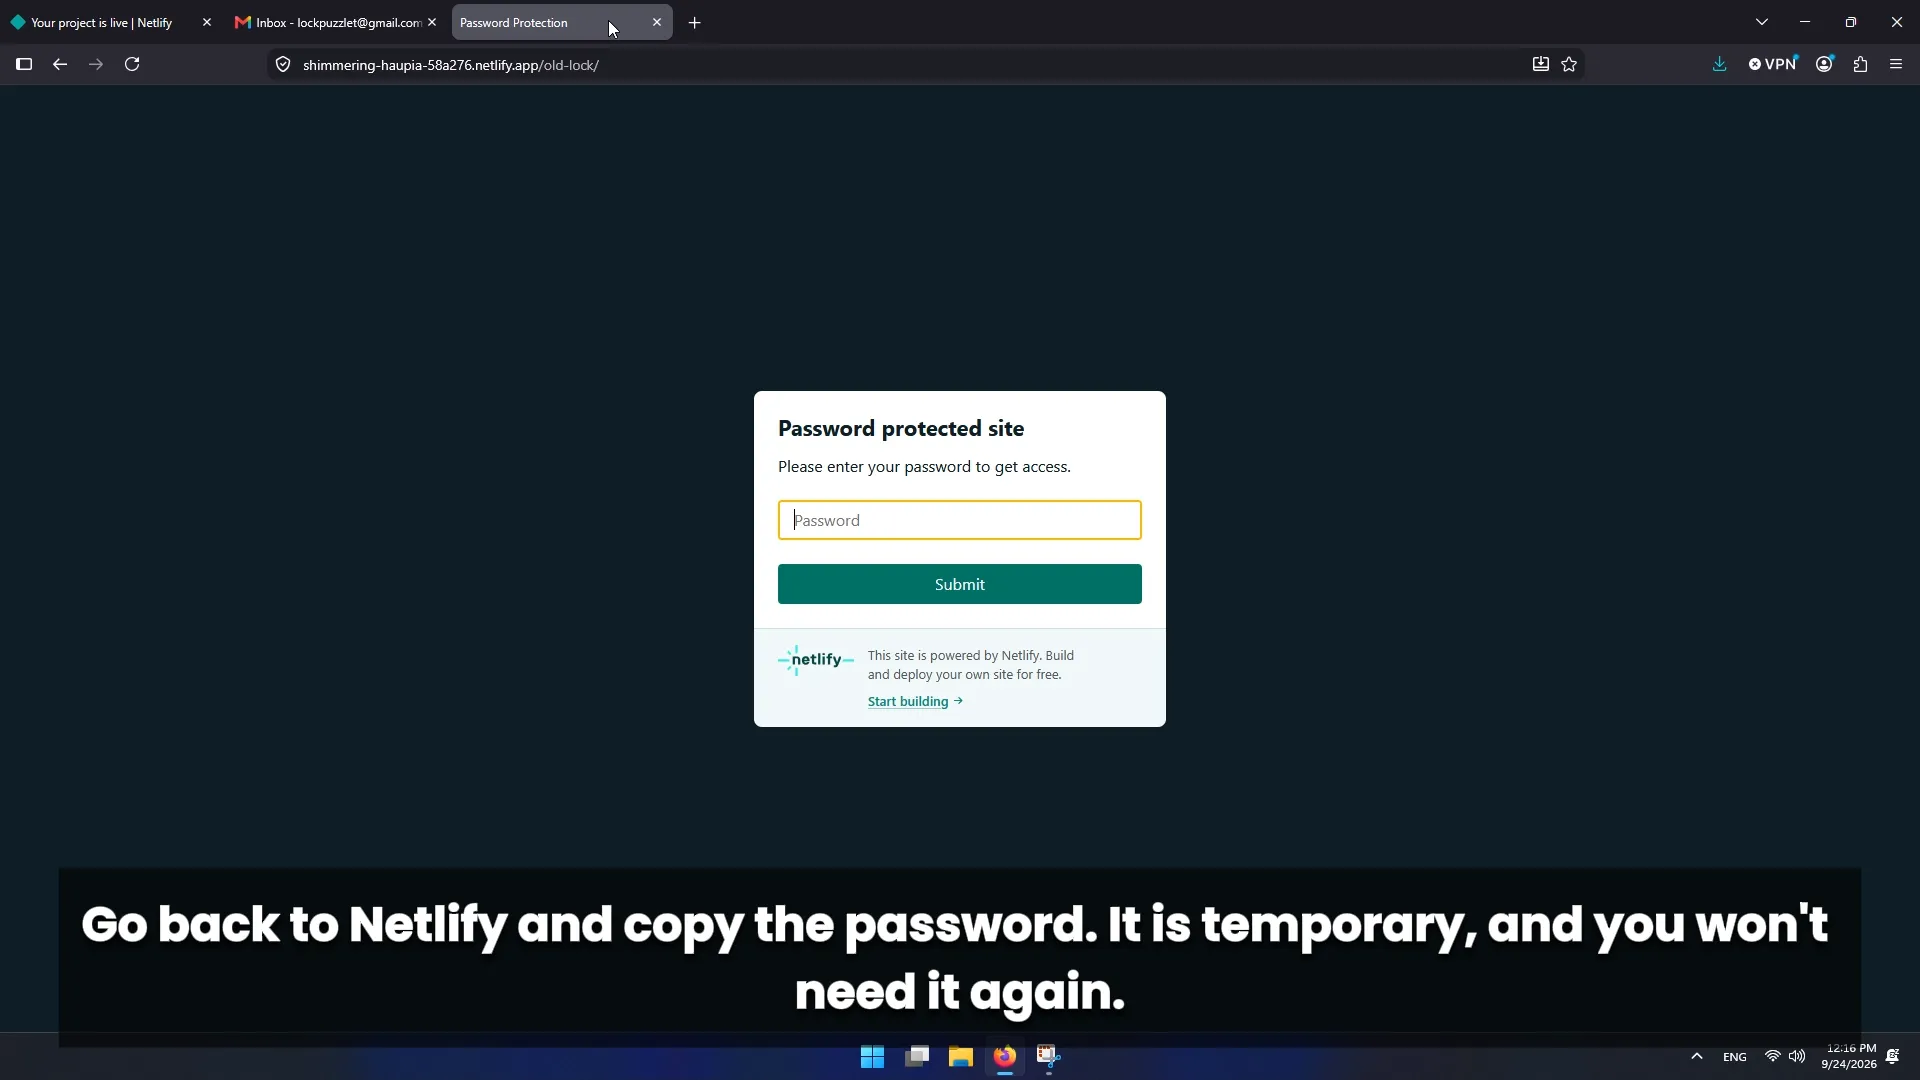
If you access that URL, you won't see anything because our project's content is split into different folders. If it prompts for a password to enter, use the password "My-Drop-Site" (or whichever one appears when you upload the folder).

Phase 2

Claim the Project and Link It to an Account

2.1

Access Netlify

Access Netlify

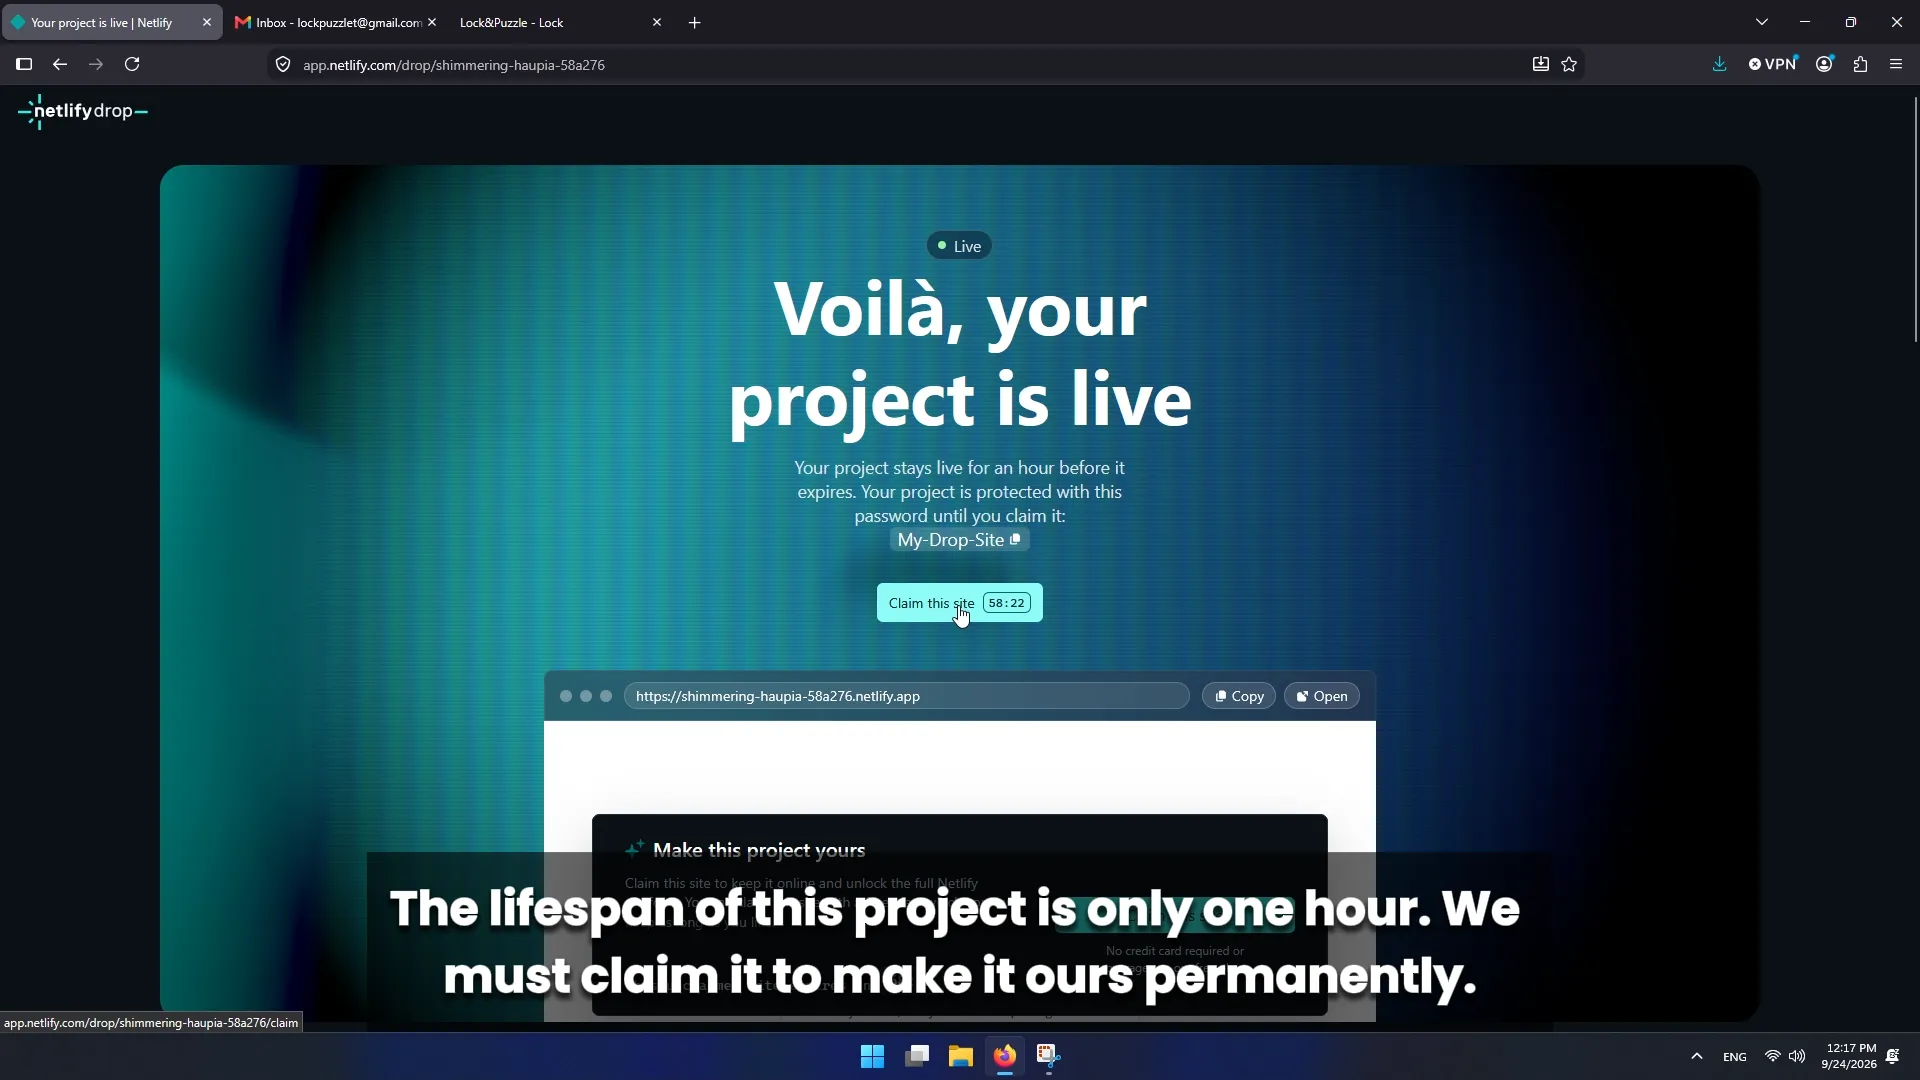
On the tab where you dropped the files, click "Claim this site" to begin permanently claiming your project. Open Netlify and select sign up or log in.

2.2

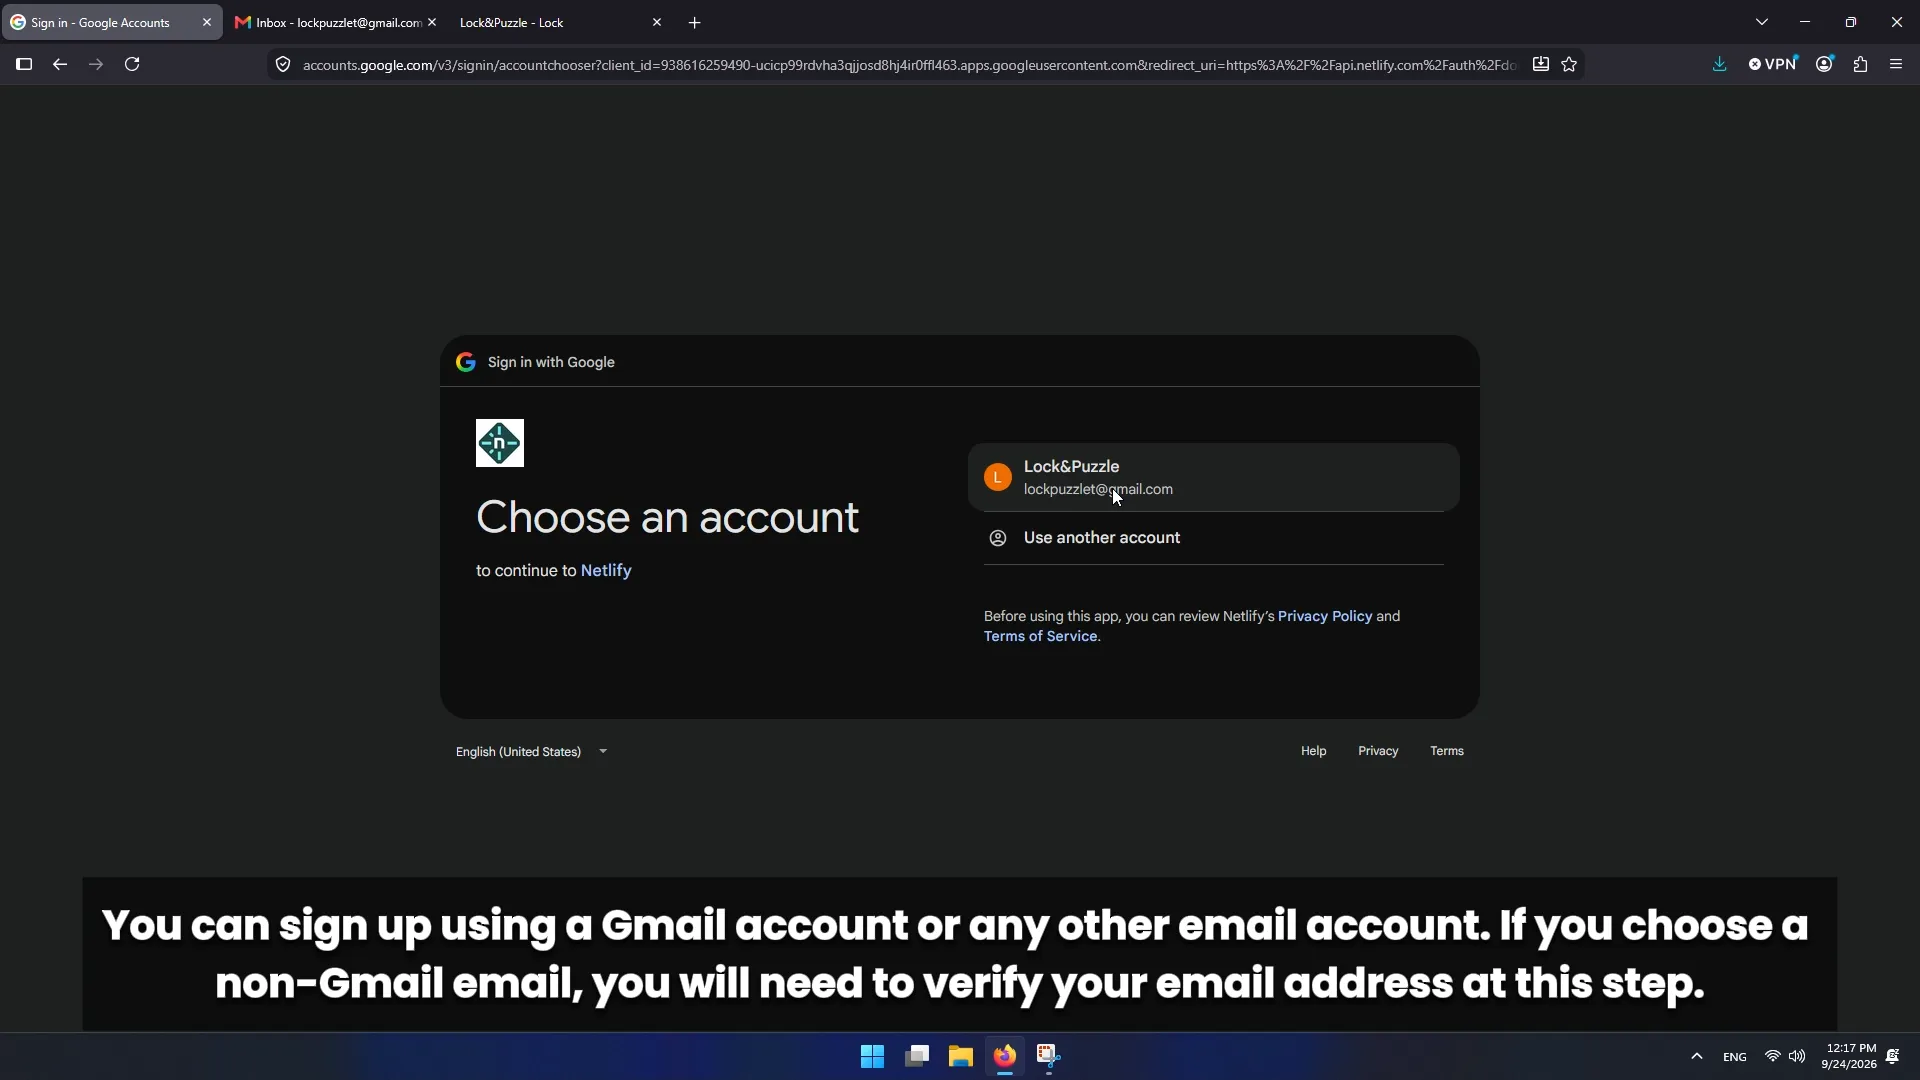
Link an account

Link an account

Now you need to link an account. In the example, we used Gmail, but you can use your own custom email. The difference with Gmail is that you'll need to complete an extra step to verify your email (you will receive a verification email).

2.3

Project Claimed

Project Claimed

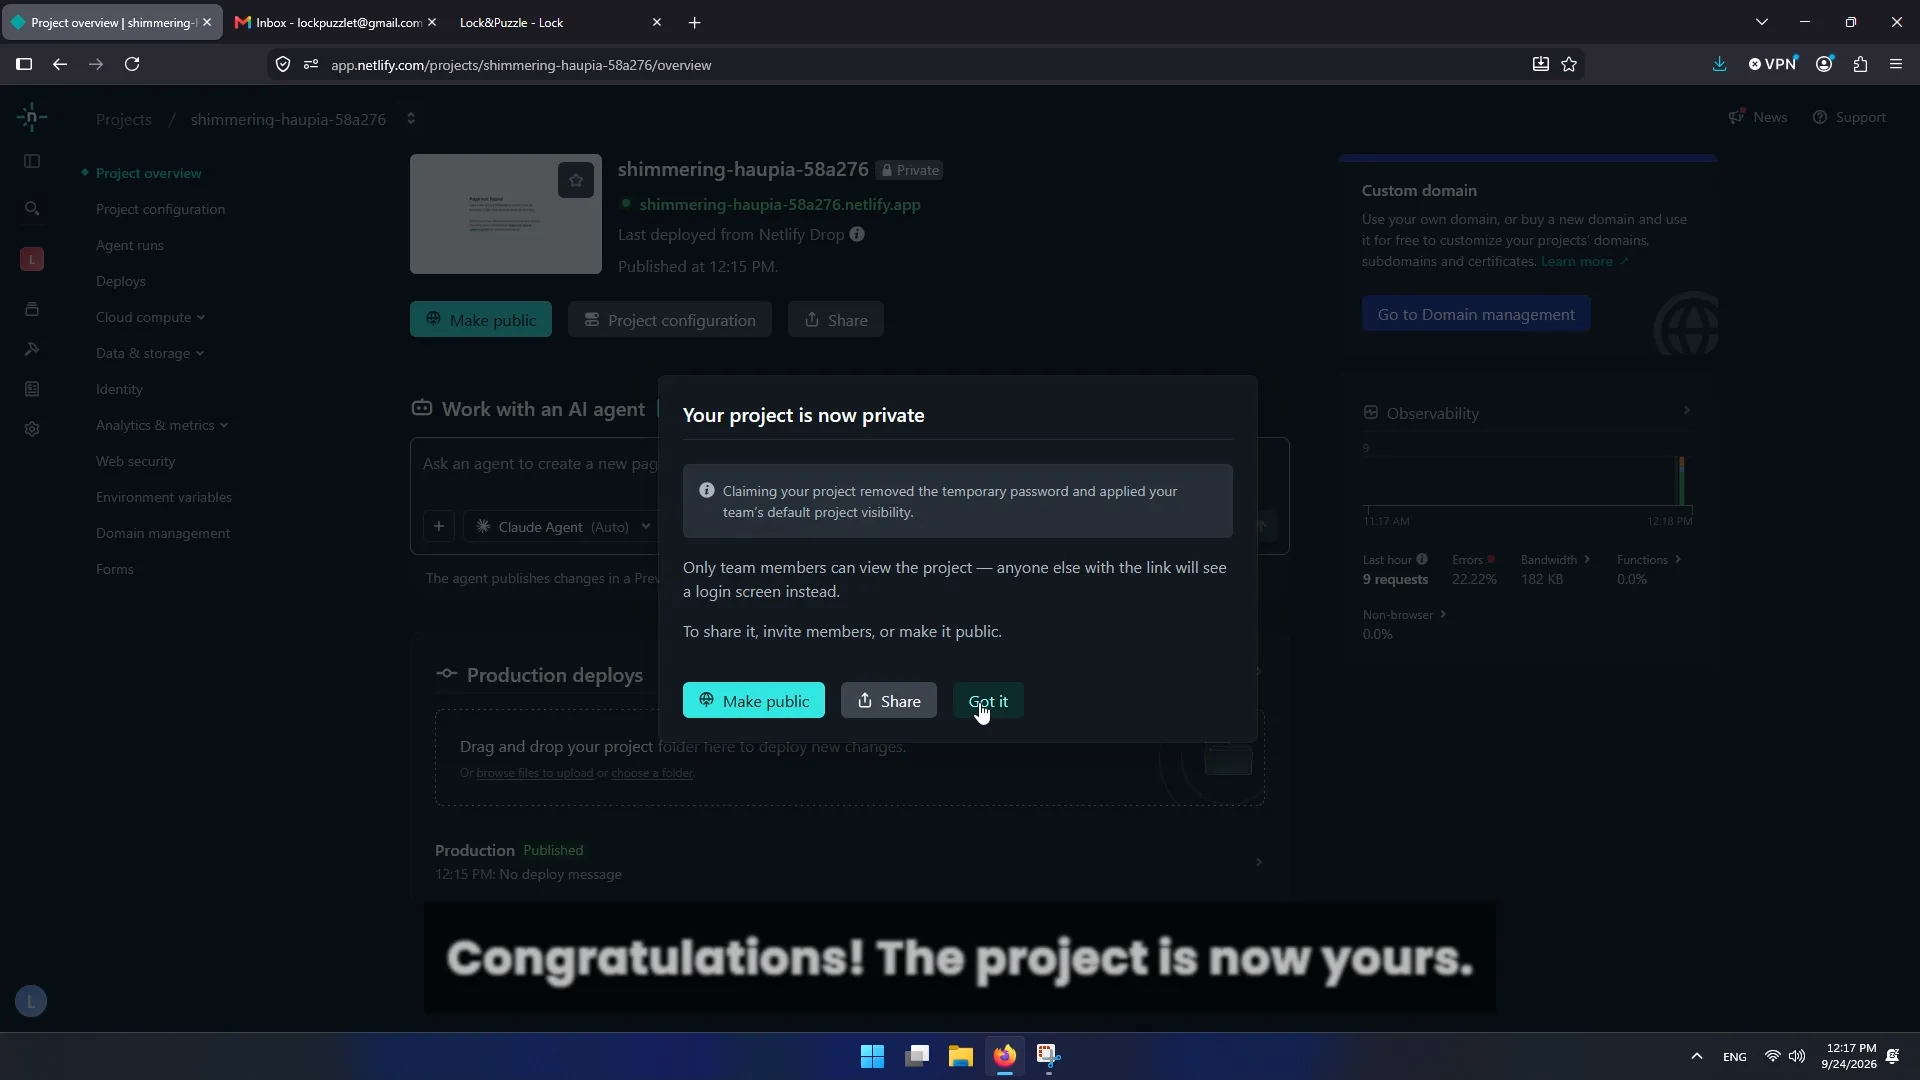
When verification finishes, a message will notify you that the project is now yours, but it is private. "Private" means only you can view it, and any outside person attempting to visit must enter the password Netlify provided in previous steps.

In the next phase, we will see how to fix this. But first, let's verify a second time that everything is correct.

2.4

Correct URL structure

Correct URL structure

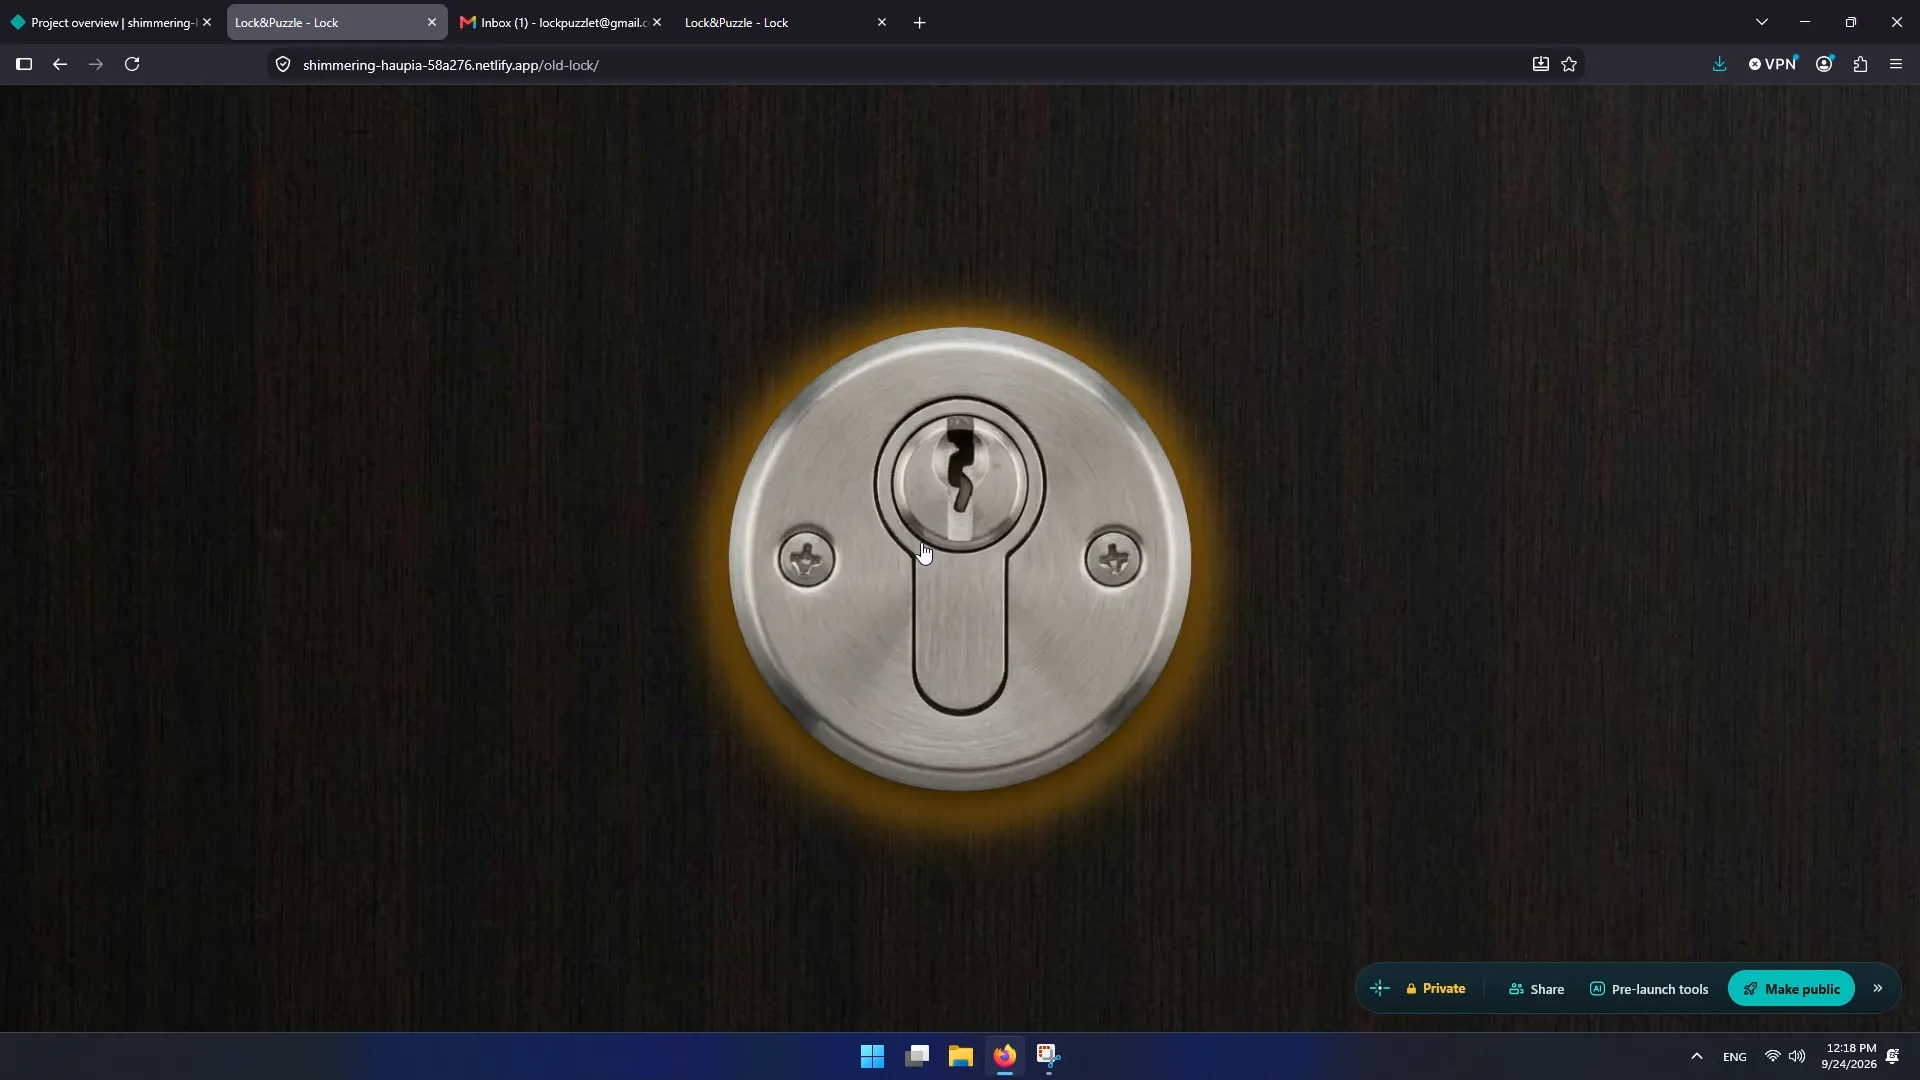
To access a specific puzzle, you must append its folder name to the end of the domain, maintaining the forward slashes:

General structure:

https://project-name.netlify.app/folder-name/

Real example (folder "old-lock"):

https://project-name.netlify.app/old-lock/

Phase 3

Make the Project Public

3.1

Change visibility

Change visibility
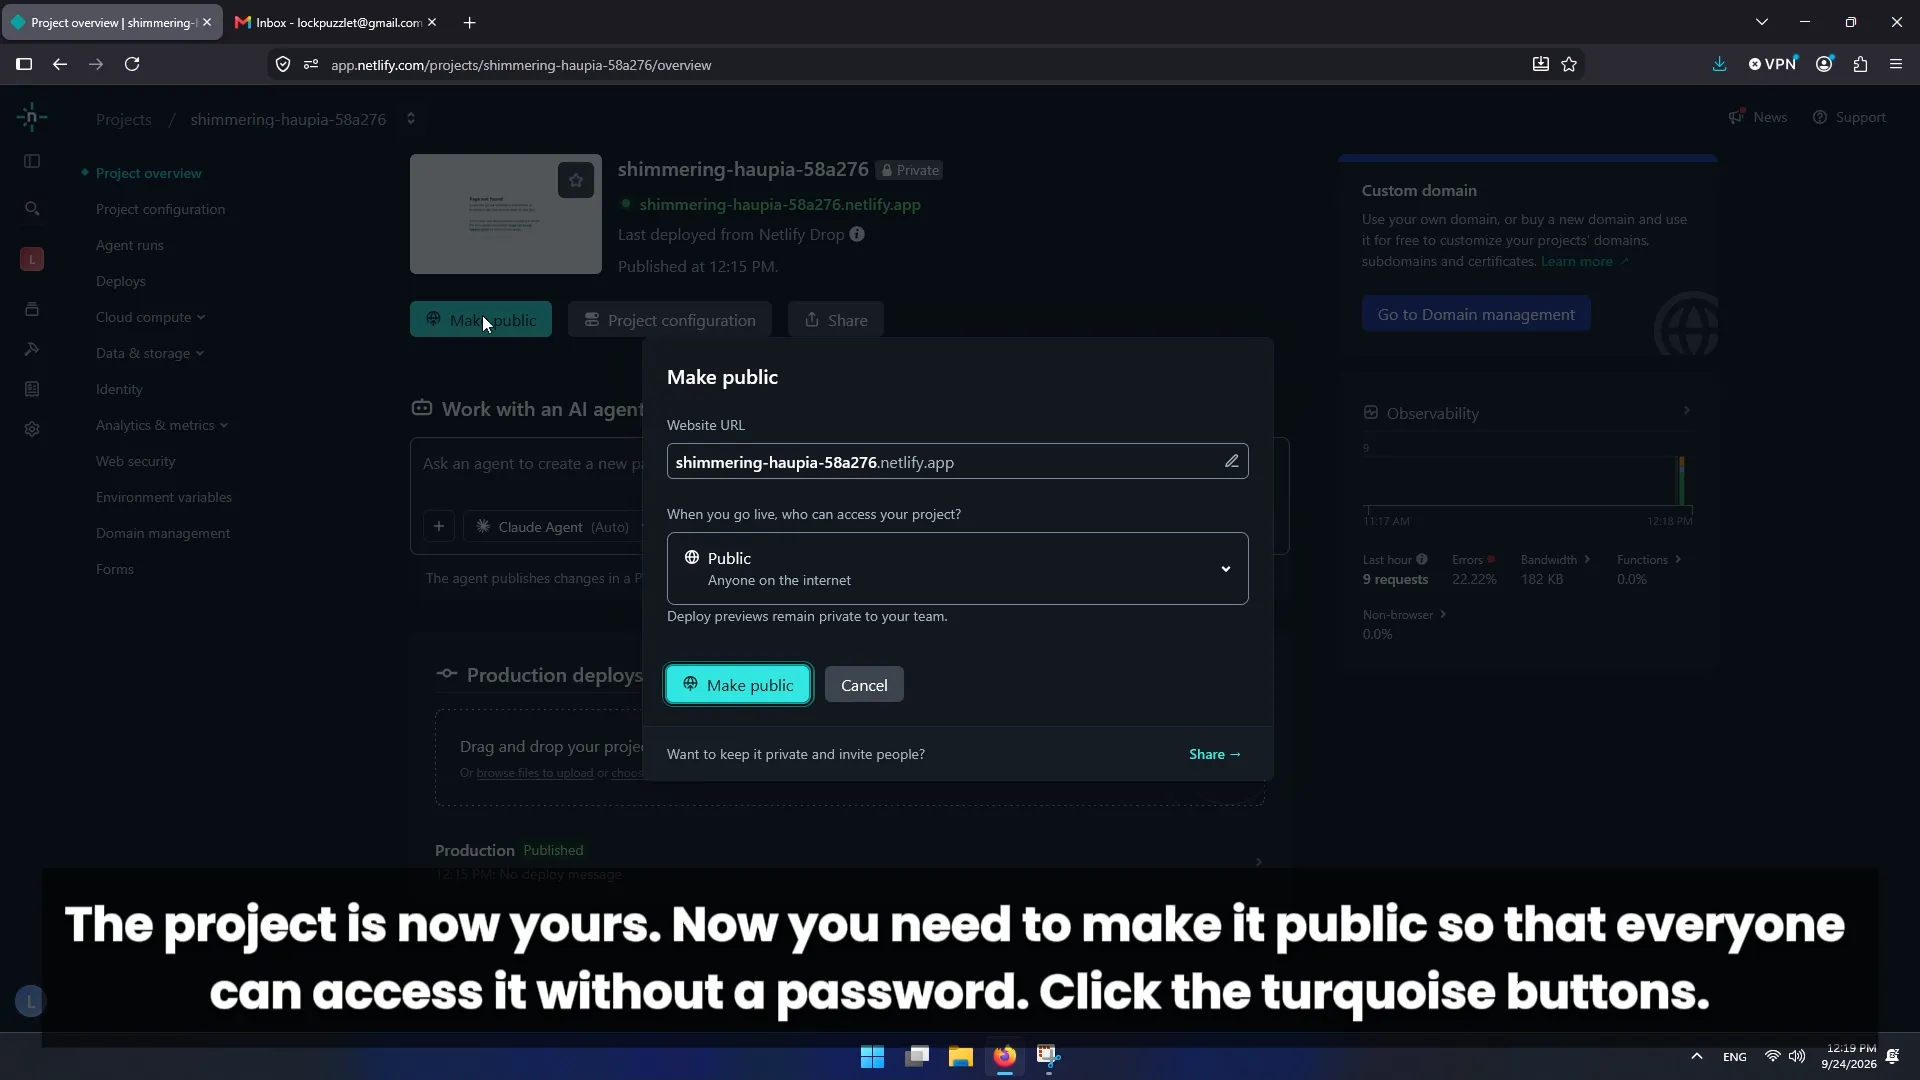
  1. In your Netlify dashboard, if the project is marked as Private, click the turquoise Make public button.
  2. A confirmation message will appear where you must click an identical button once more.
3.2

Final verification

Correct URL structure
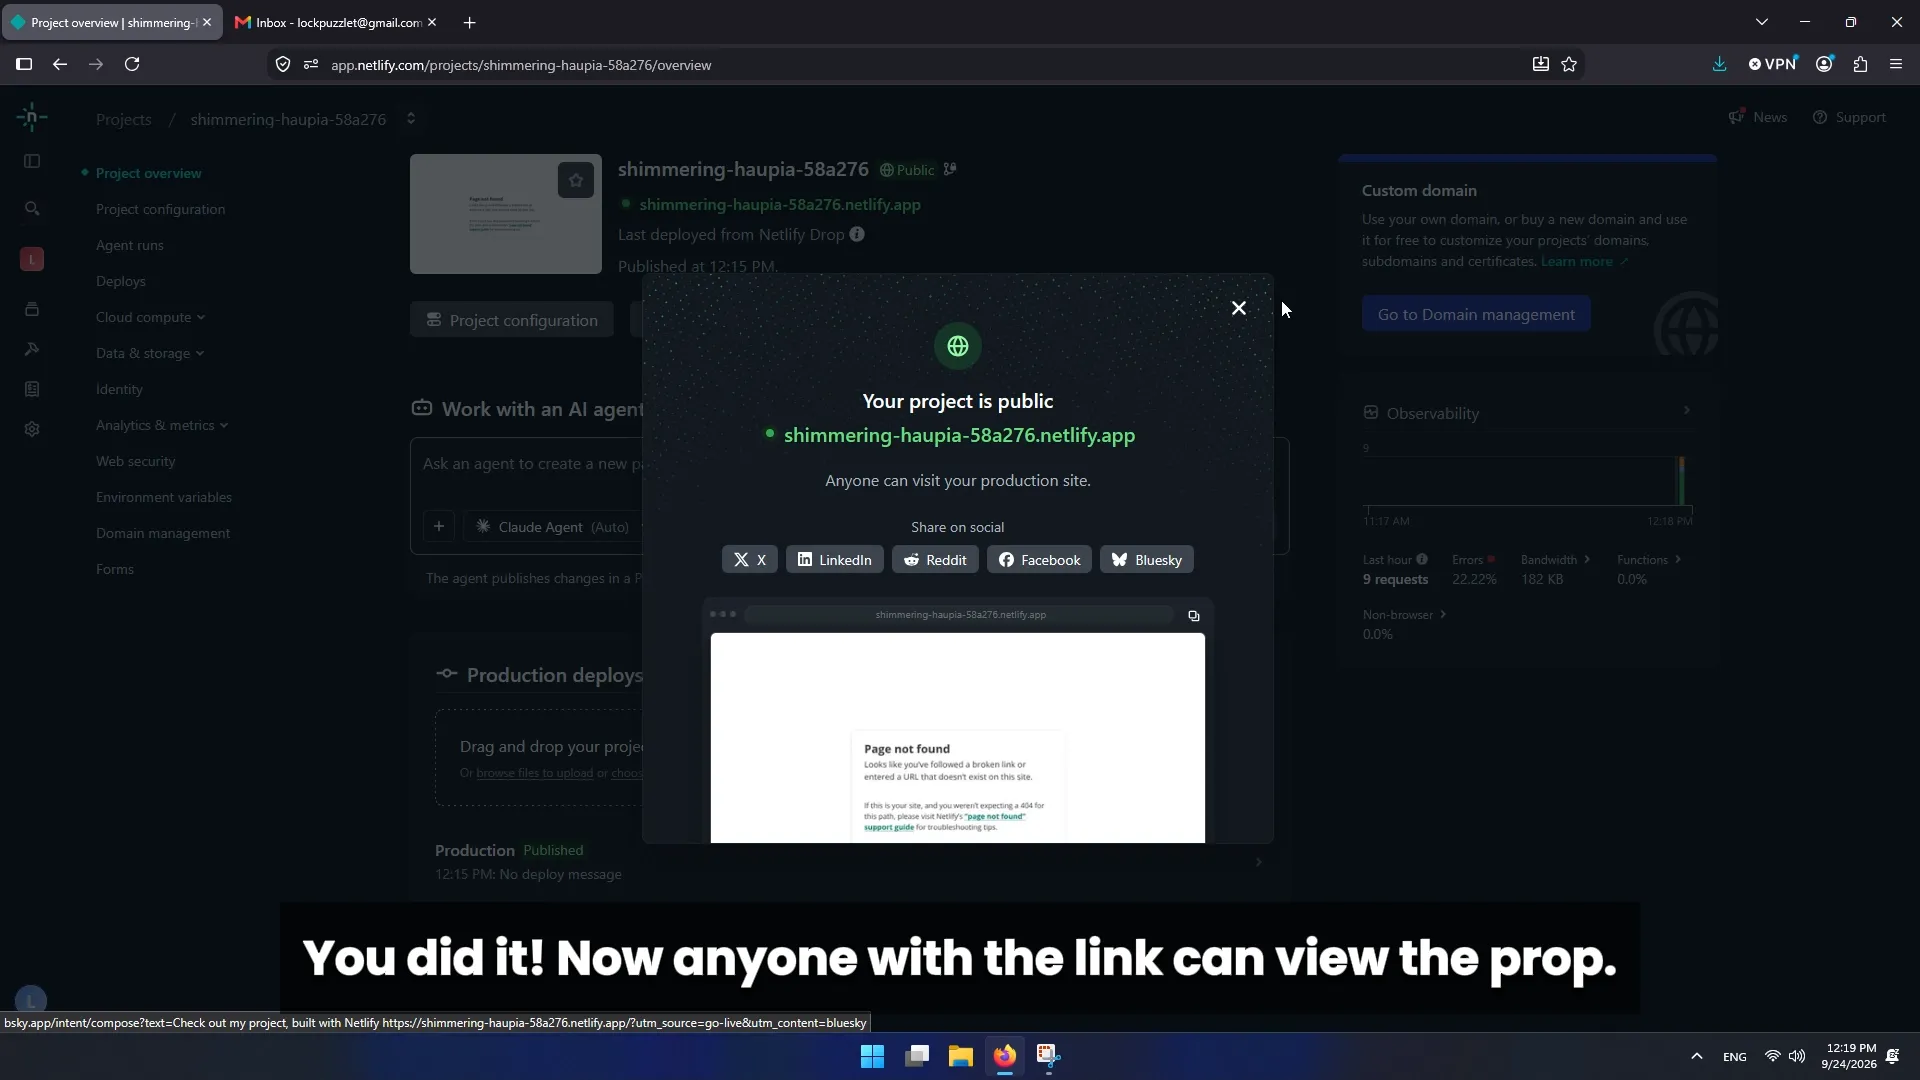
  1. A confirmation message will state that it is now public.
  2. Confirm by opening a private or incognito tab in your browser.
  3. Enter the complete URL including the folder name and both slashes.
  4. Verify that the page and its resources load properly without requesting any password.
Attention

Errors We Must Avoid

Review this list to ensure proper functionality of your link.

  • Using folder names with whitespace or uppercase letters.
  • Leaving the default folder name assigned to each puzzle by default.
  • Omitting the trailing slash (/) when building the URL address.
  • Failing to complete email account linking inside the Netlify platform.
  • Forgetting to change project visibility from private to public in the dashboard.
  • Finishing the procedure without verifying access from an incognito window.
Get started on Netlify Drop
Final Result

Your Project Will Be Ready and Accessible!

Upon completing these three blocks, your puzzle will be hosted on Netlify, linked to your account for administration, and provided with a fully functional public URL for your game sessions. Remember that you can duplicate a puzzle as many times as you need. You won't have to do any of this again. You can start uploading your tests to Netlify right now or learn next how to modify and re-upload a project.